
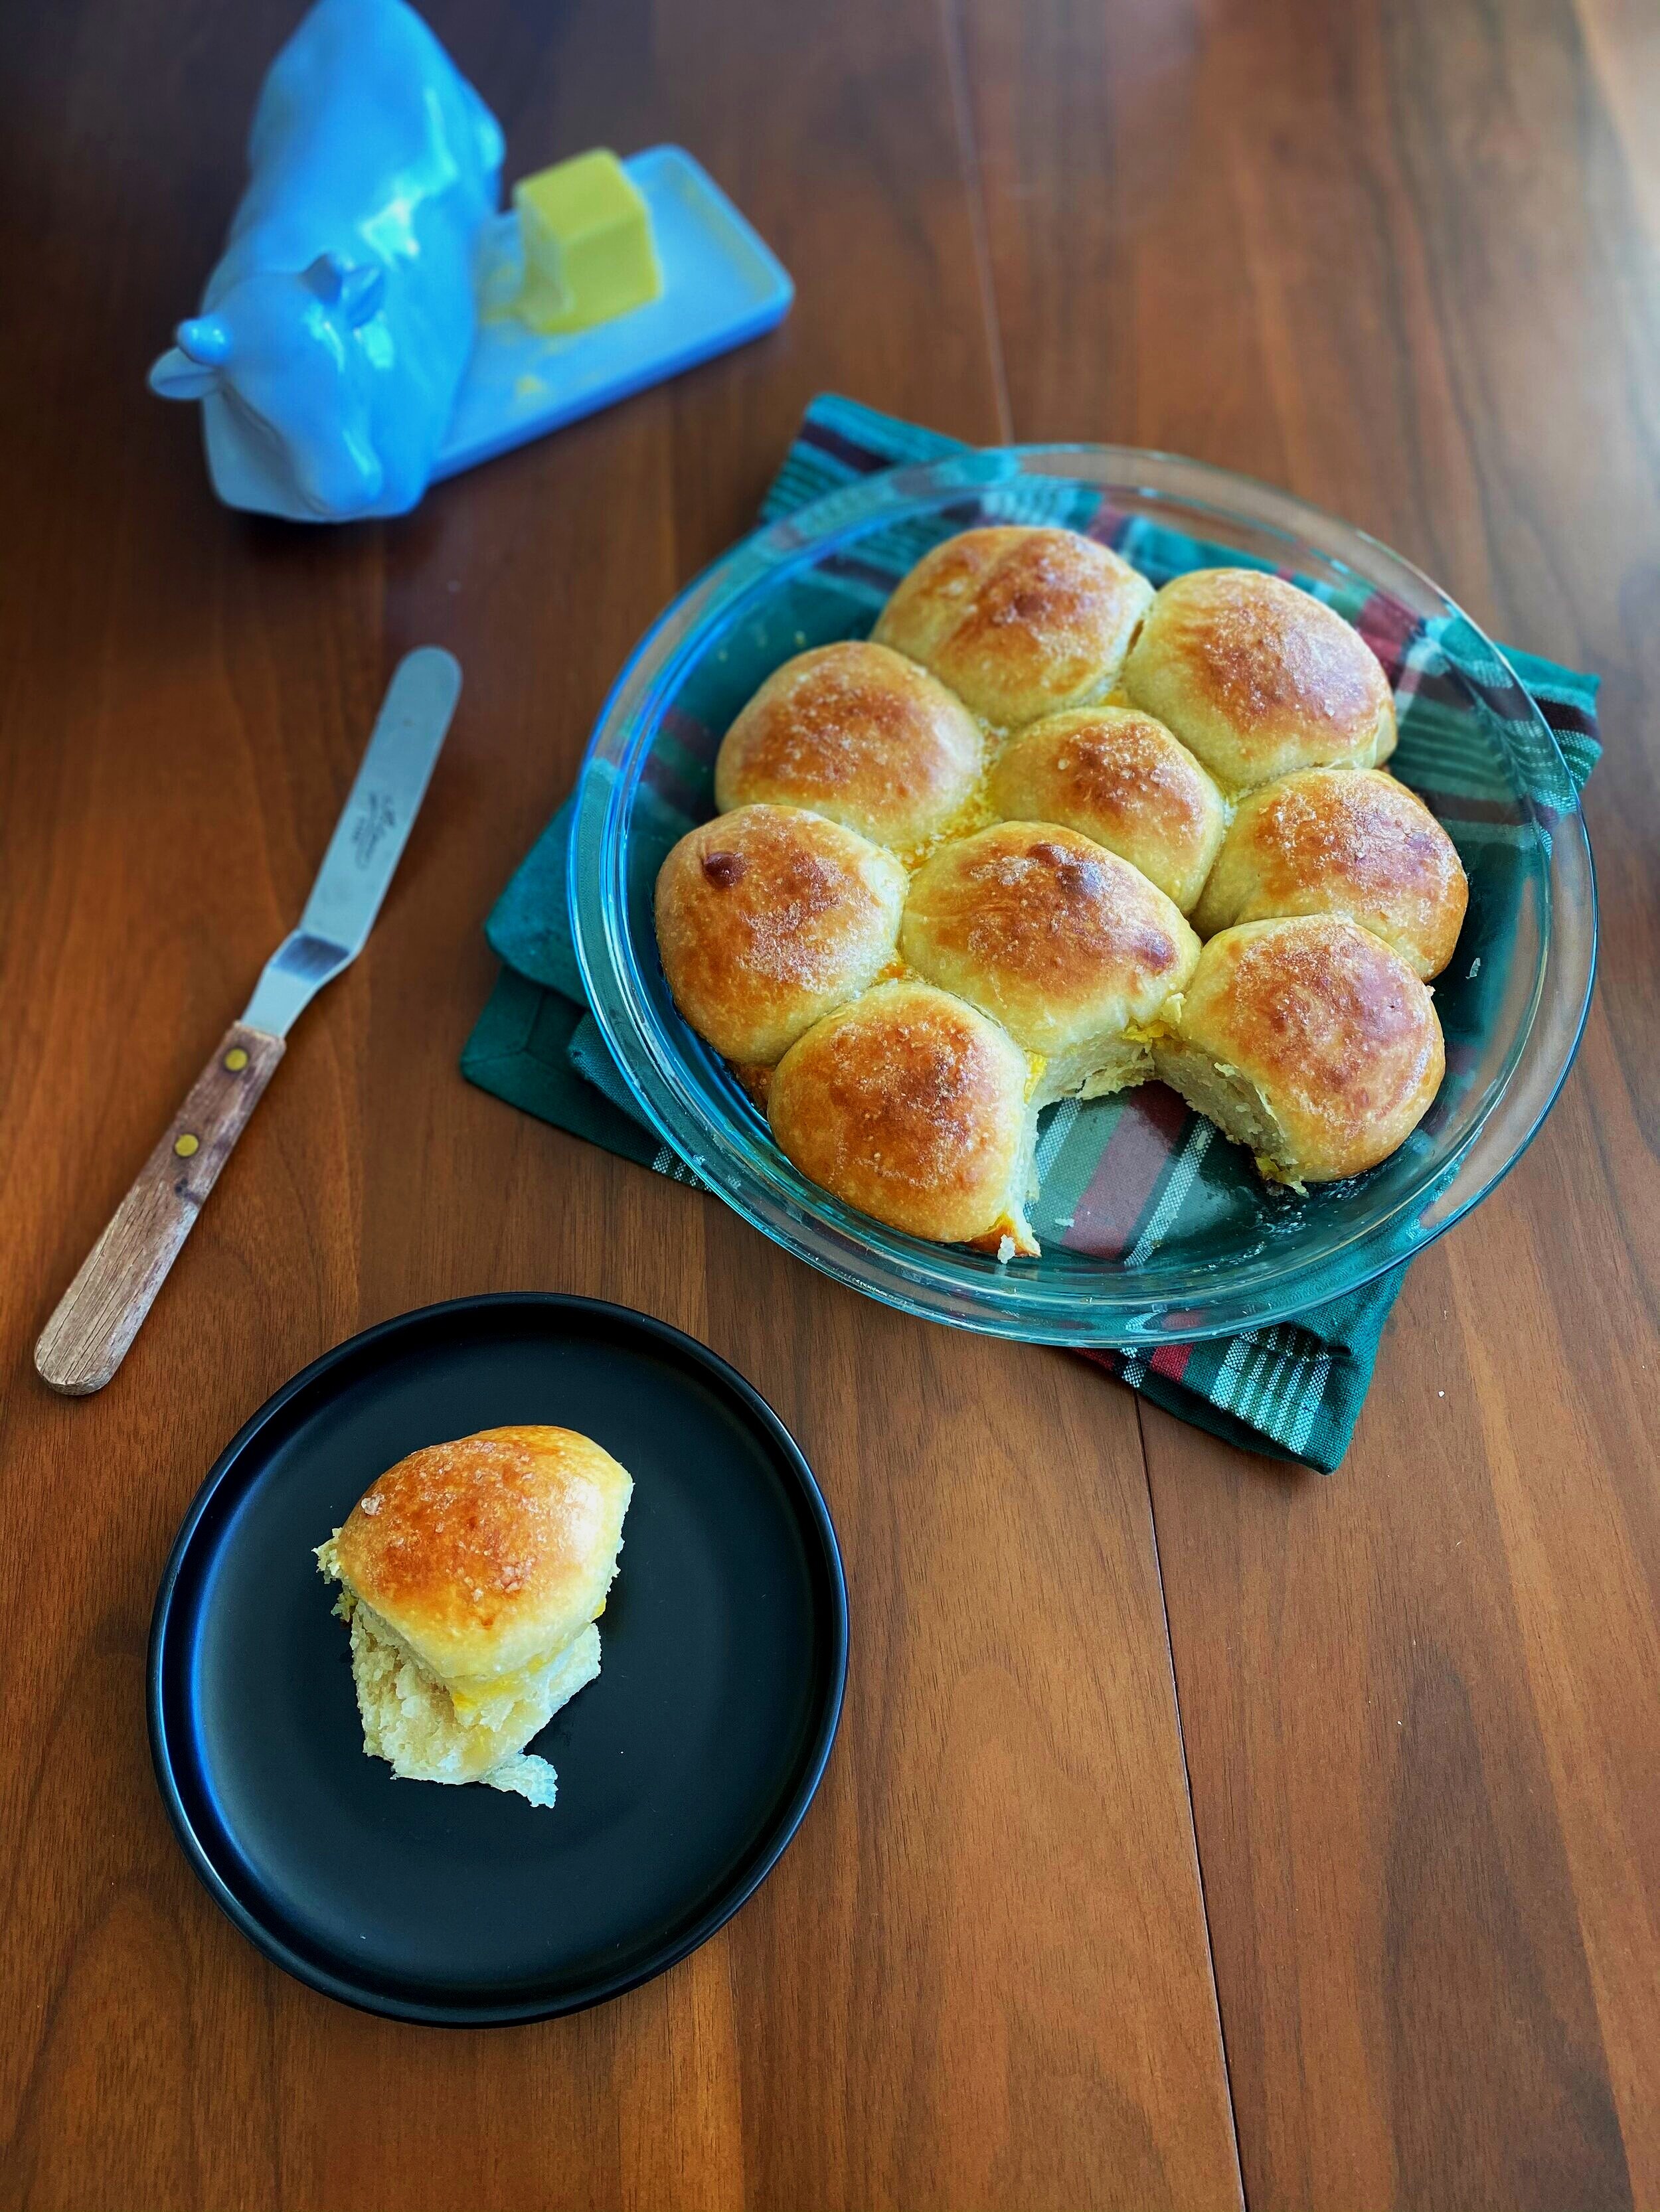
milk bread rolls
Chinese bakeries are a magical place! I grew up going to at least one every few days. In a way it would lure you in by the scent of freshly baked breads, rolls and cakes. There are a minimum of 25 varieties of baos, some filled with custards or cream and some with meat. My mom would always get a tray of the buttery milk bread rolls for breakfast. Never buying more than just one aluminum tray. She would rather buy another tray every other day so it stays as fresh as possible. My siblings and I would rip off a piece and have it for breakfast along with our hot Ovaltine or Horlick before heading to school. Nowadays, it’s not as easy to swing by the local bakery every other day. That’s why I love making my milk bread rolls and eat what I can for the first day and then I can freeze the rest. Defrosting one or two whenever I craved for one. They are a mashup between a buttery parker roll and a milk bread. Giving them the perfect texture and flavor.
Milk bread Rolls
Prep time: 20 minutes | Total time: 3 hours 30 minutes
Yields: 10 rolls
Ingredients:
1/4 cup warm water, about 110 degrees F
One 1/4-ounce package active dry yeast (2 1/4 teaspoons)
1/3 cup plus 1/4 teaspoon sugar
3/4 cup plus 1 tablespoon heavy cream
1/4 cup whole milk
8 tablespoons unsalted butter, divided
2 1/2 cups all-purpose flour, plus more for dusting
Kosher salt
1 large egg, lightly beaten
1/2 teaspoon flaky sea salt
Instructions:
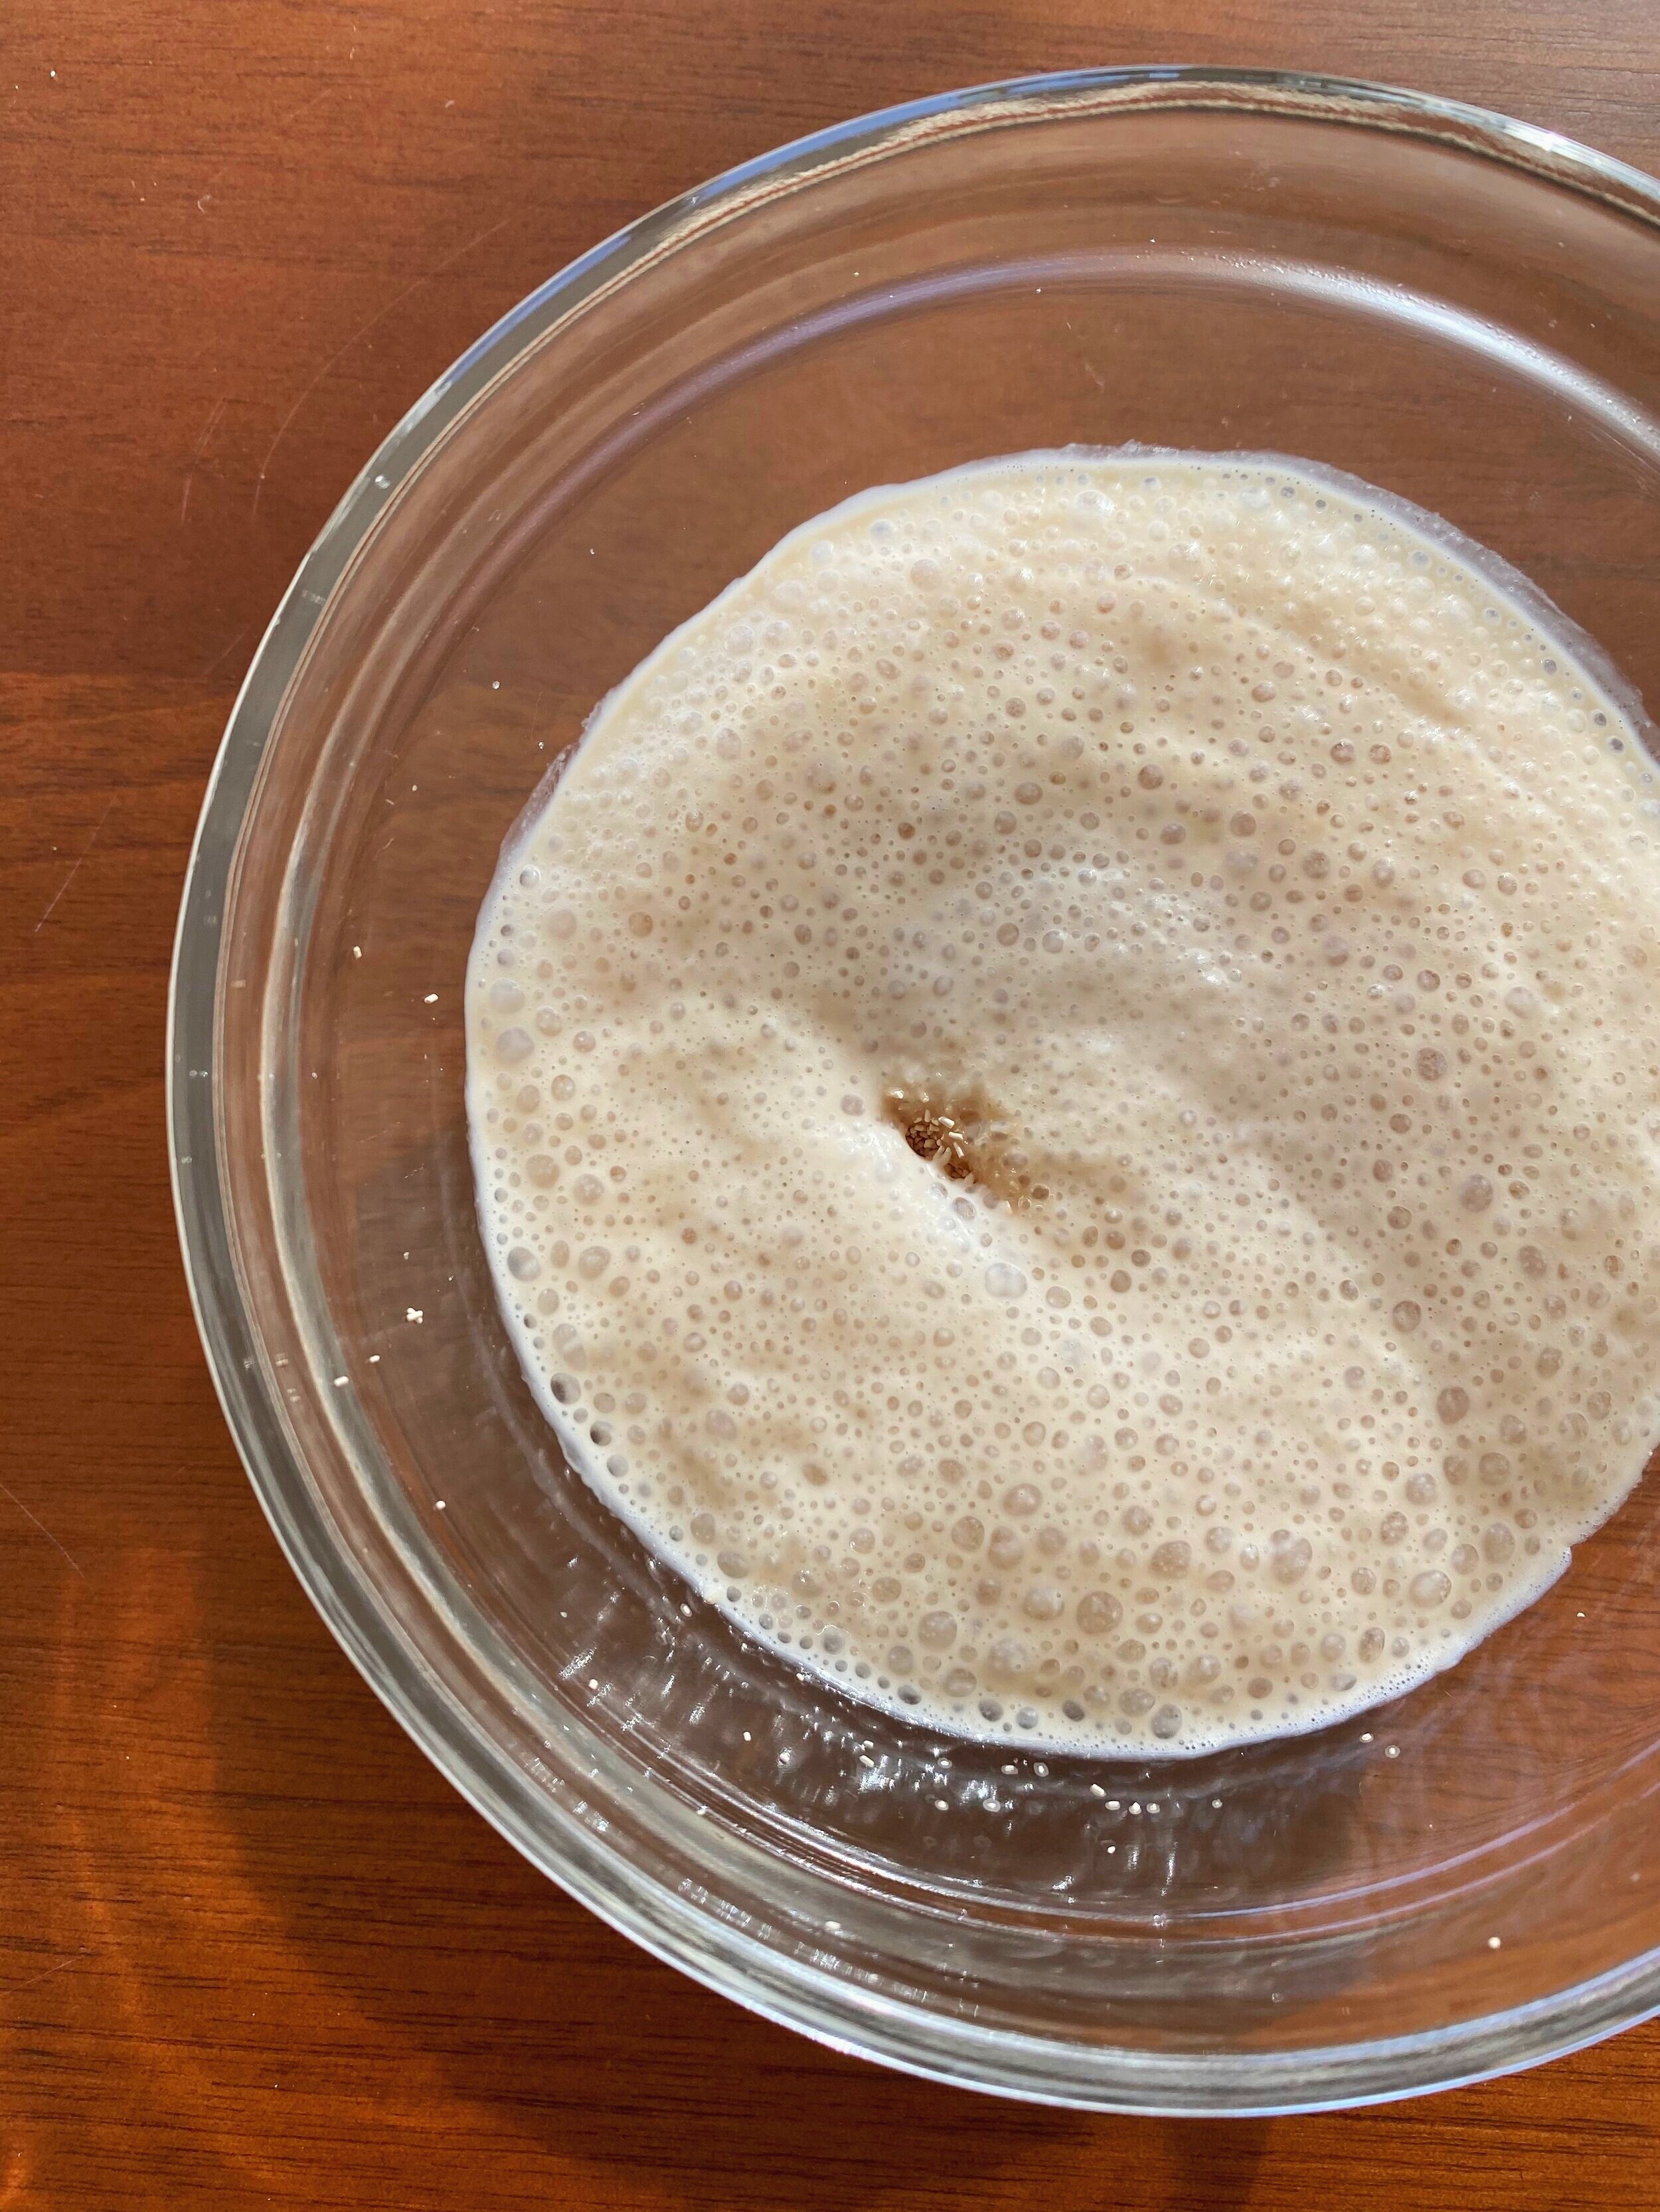
Put the warm water in a small bowl and stir in the yeast along with the 1/4 teaspoon sugar. Let sit until foamy, 5-8 minutes.*
Heat 3/4 cup heavy cream, milk, 1/3 cup sugar and 4 tablespoons butter in a small saucepan over medium-low heat until a gentle simmer, about 3 minutes. Remove from heat and stir until butter and sugar is fully melted. Set aside to cool slightly.
Meanwhile, whisk 2 1/2 cups flour, 3/4 teaspoon Kosher salt in a large bowl. Add the bloomed yeast and the cream butter mixture into flour mixture. Using a rubber spatula, mix until just combined, about 2 minutes.
Lightly dust a clean working surface with about 1 tablespoon of flour. Transfer the dough directly onto the surface and knead for 10 minutes.** Form into a ball. The dough should be warm and slightly wet but not sticky. If it is sticky, add up to 1 additional tablespoon of flour.
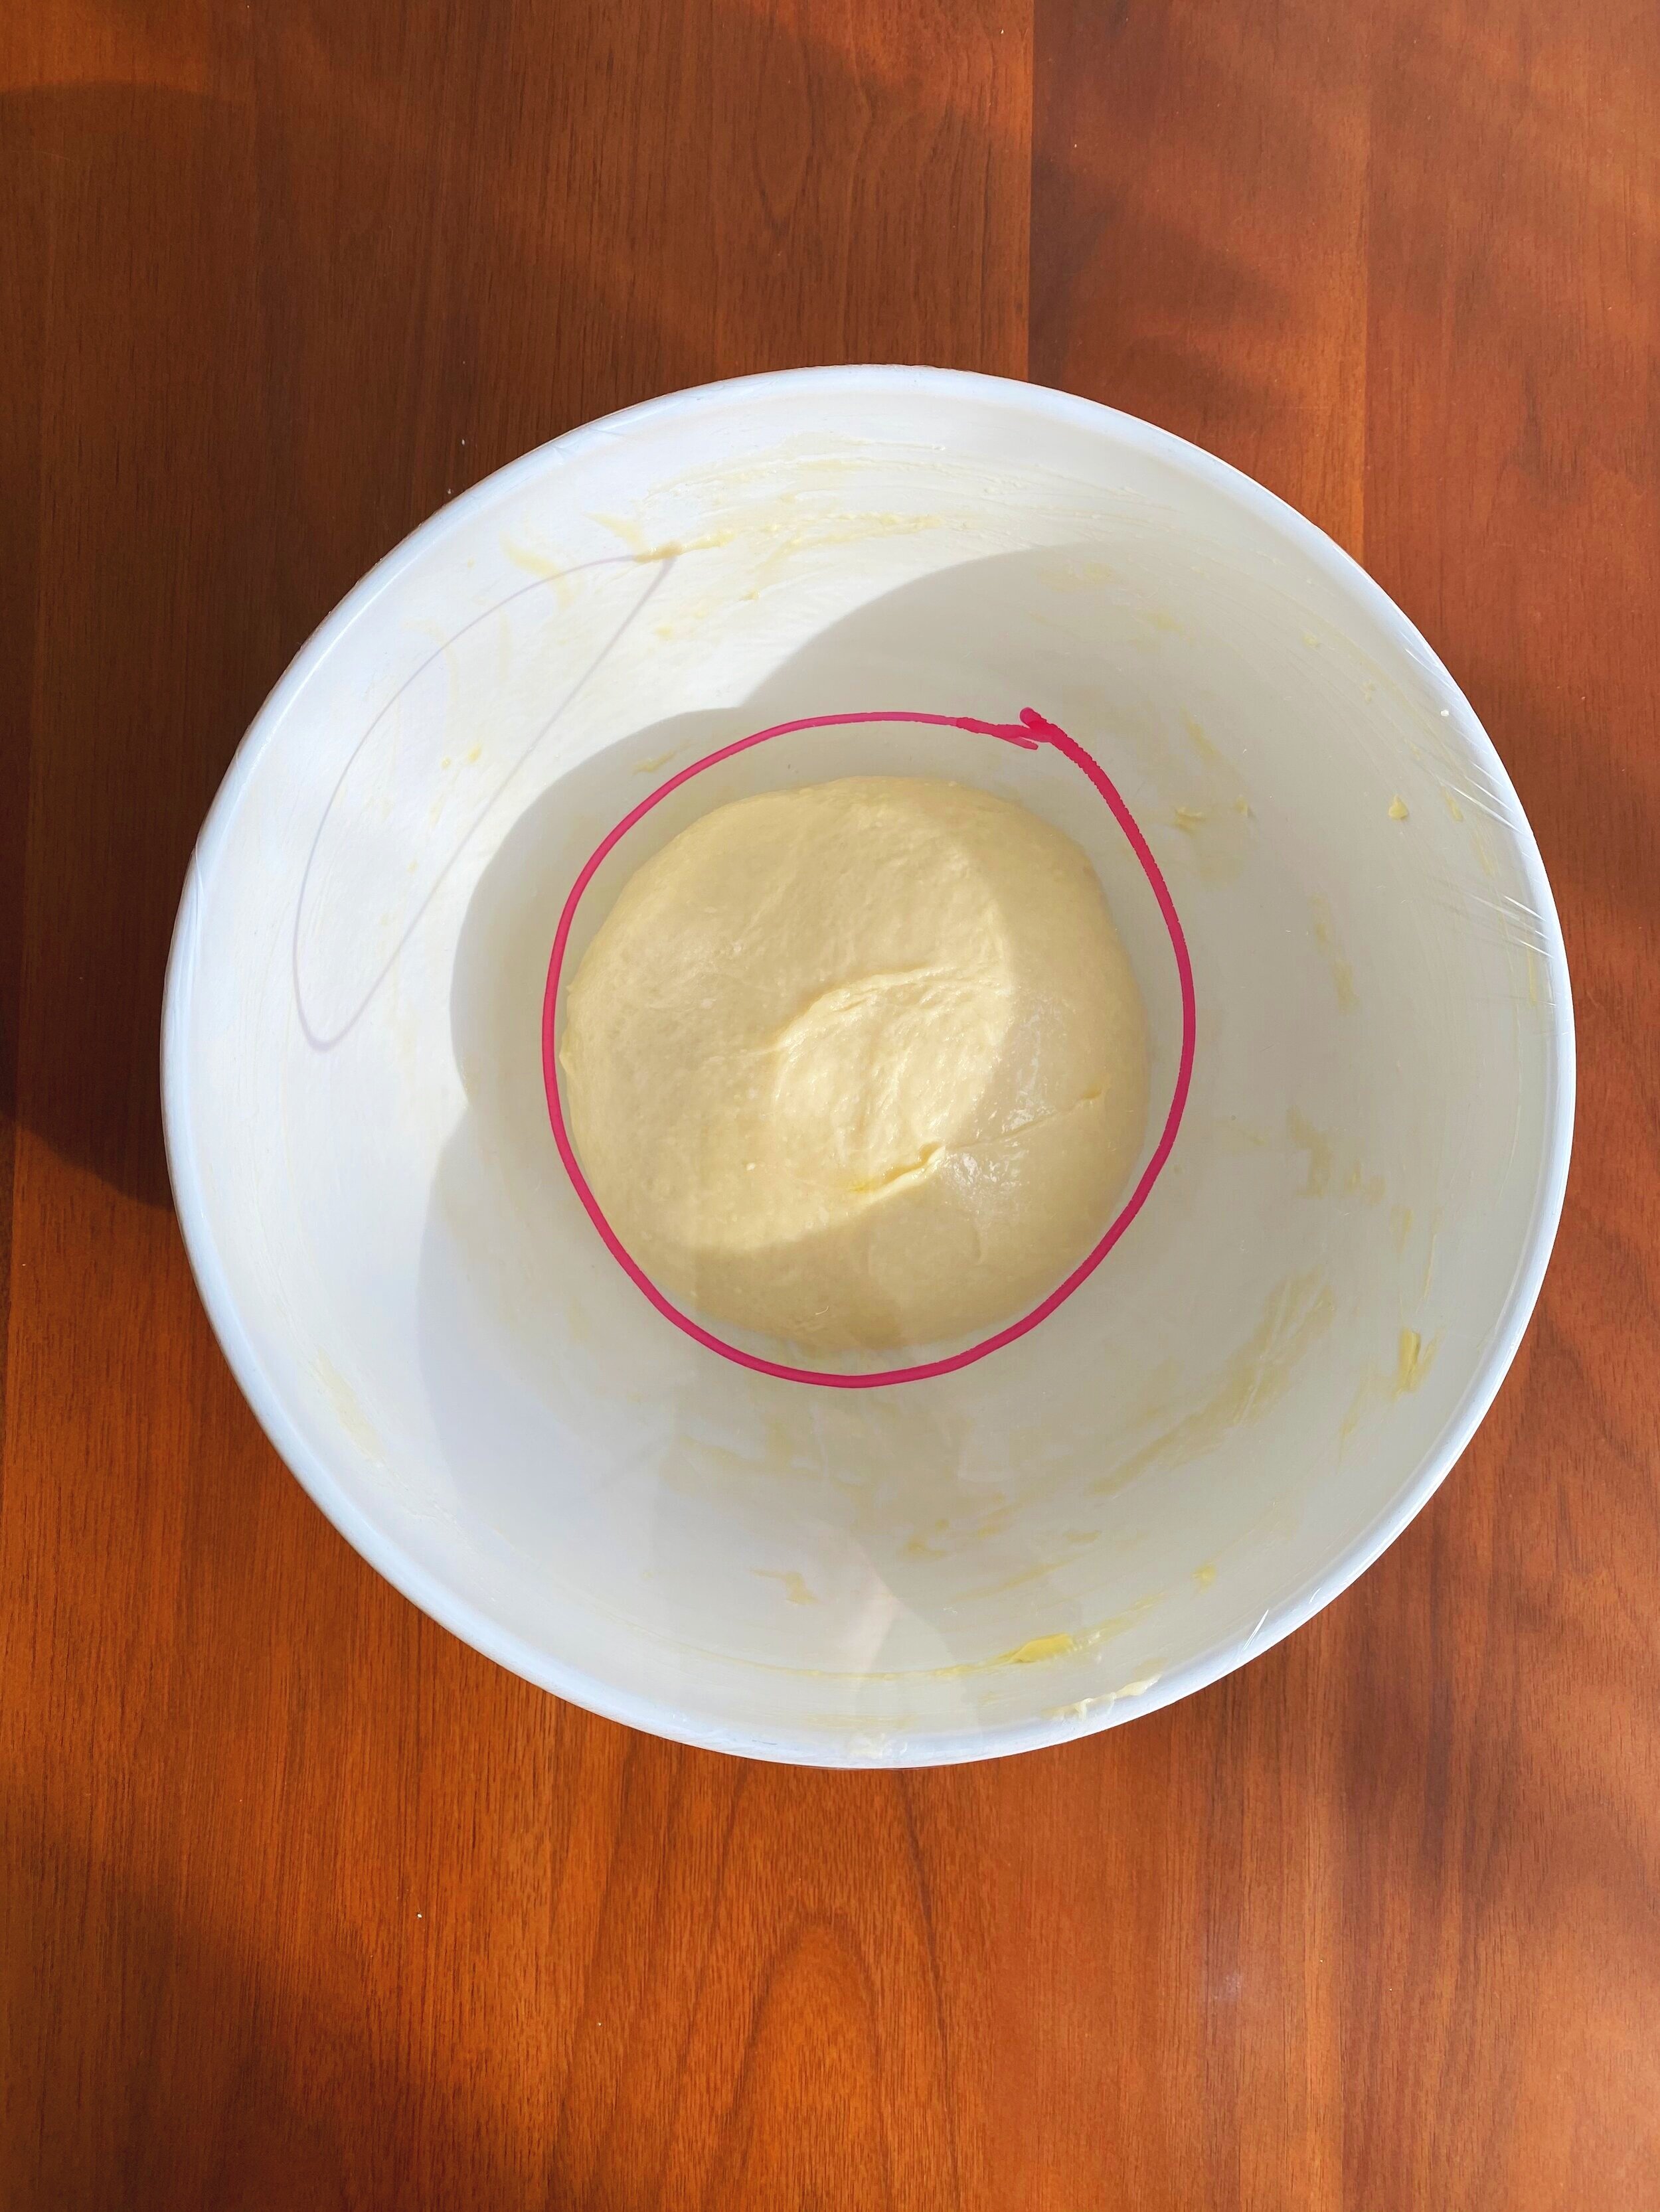
Coat a large bowl with 2 tablespoons butter and coat the dough ball in the bowl. Place the dough ball in the center with seam side down. Cover the bowl with a piece of plastic and draw a circle over the dough ball.*** Place in a warm spot and let double in size, about 90 minutes to 2 hours.****
Lightly butter a 9-inch pie plate with 1 tablespoon butter. Remove the plastic and punch down the risen dough. Transfer the dough to a lightly flour surface and divide into 10 equal balls. Place the dough balls in to the pie plate and lightly cover with a clean dish towel. Place in a warm place and let the rolls get slightly puffed, about 30 minutes.
Preheat over to 350 degrees F with a rack in the middle. Whisk the egg and 1 tablespoon heavy cream in a small bowl.
Once the dough balls are fully proofed, remove the clean dish towel and brush with the egg and cream mixture. Sprinkle with flaky sea salt and bake until rolls are puffed and golden brown, about 30 minutes.
Remove from the oven and place the pie plate of rolls on a cooling rack. Brush with remaining 1 tablespoon of butter. Let sit for 5 minutes and serve warm.
Cook’s Note
*How do you know if your yeast is working aka alive?
Dry active yeast wakes up in warm water and feeding it with sugar. After sitting in the mixture, it should be very foamy like the reference photo. If not, the yeast is either dead or the water was too hot or too cold. Either way, get rid of it and start with a fresh packet of yeast. Be sure to check the expiration date.
**Do not want to knead by hand?
You can always place the dough into the bowl of a stand mixer with a dough attachment. If you do not need the dough for 10 minutes, the rolls will not be fluffy!
***Why draw a circle on the plastic wrap?
It is good practice to draw a circle around the dough before it proofs, this way you can really tell if the dough has doubled in size. It is more important to follow the visual than the time frame.
****How do you know when the dough has proofed?
The dough will double in size and become softer. Depending on the climate and environment, it may take the whole two hours or it might just be an hour. It’s important to allow the dough to fully proof. If not, this will yield n a dense and chewy texture.